Friday, January 25, 2013

Preschool Quilt

 Last week in my preschool we focused on the letter Q.  And of course Q is for quilt, so we made one.

Each child picked a color then I cut out three white blocks and 3 color blocks.  The children used their awesome patterning skills to put their row in the right order. 

That night I sewed the blocks together.  I choose to have this a binding-less quilt so the process would go faster.  (However when I sandwiched my fabrics and batting together I did them in the wrong order so that when I turned the quilt right side out, the batting was on the outside! Well, an hour of unpicking and then sewing it back together it was finally time for quilting.)


The next day at preschool I painted the kids hands and "stamped" their row.  They were so proud of the quilt.  It is now complete and heading to our local hospital for a little kid in need.


UFO # 32: Scrap Quilt #1 for Project Linus


Last year I my drawer with my child print scraps was overflowing.  So I cut some into 4 1/2" squares and some into 2 1/2" squares.  I sorted them into girl and boy fabrics, then I made a bunch of 4 patch blocks. 

This is the boy quilt. I used dark blue fleece for the back.  (I love using fleece for the backs of baby quilts.  It makes them so snuggly.)

This is the first quilt that I have ever machine quilted in the stippling pattern.  It was so fun and so much easier than I had thought.

This quilt is going to be donated to my local chapter of Project Linus.


Stats:
36" x 36"
Started Spring 2012
Finished January 2013

Tuesday, January 22, 2013

UFO #13: Farm Puppets


Two years ago I saw this farm animal pattern on the Internet. I  fell in love with it.  I knew my little girl would love playing with them.  

The crazy thing is, I never finished them. Why?  I didn't like changing the thread colors in my sewing machine each time I needed  to sew a different color of felt.  Stupid right?

Finally they're done. The motivation behind getting them done was so that I could use them in my preschool for farm week.  (And it only took like 1 hour to finish them. I was kicking myself.)  But the kids loved them.

Stats:
Started February 2011
Finished January 2013

Tuesday, January 15, 2013

UFO #20: Hannalee's Flower Quilt

When my little girl was 9 months old I decided to start making her a twin sized quilt.  I knew that I by the time she was old enough to use it, I should have it done.  Well she has been in a twin bed for 2 years now and it is finally done.  But the process was not as simple as I thought.

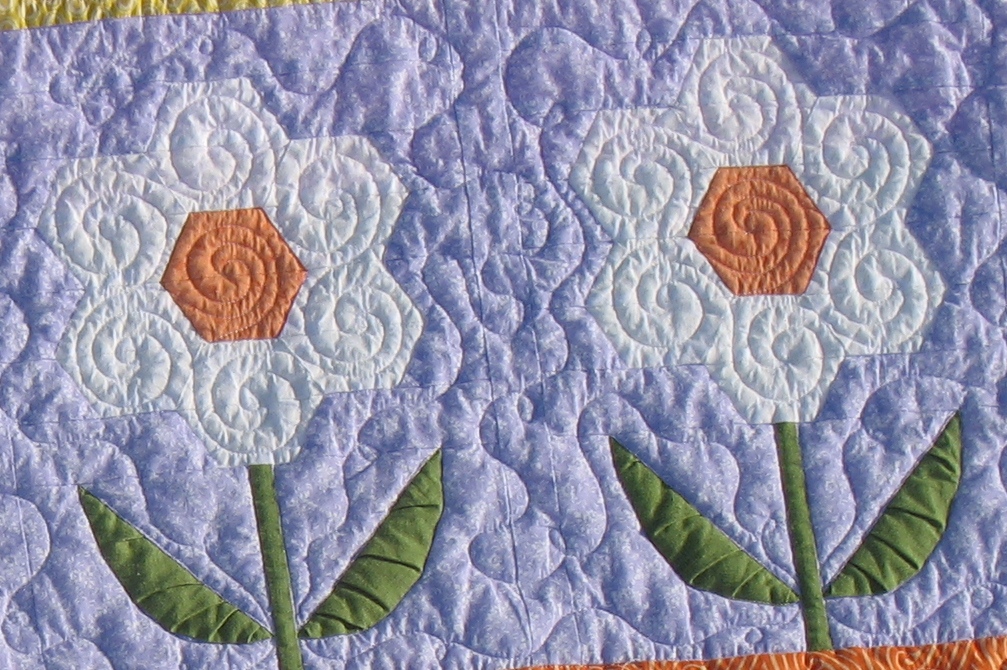
I found a pattern from a quilt magazine, but I can't now recall the magazine or the name of the quilt.  It had hexagon flowers that were paper pieced.  I was going to make that exact quilt in purples and white.  I made the flowers, which took me two years!  (Not because they were hard, but because the process was tedious and I would get board.)  See the white flowers in the picture blow.


 But by the time I finished all twelve flowers, my quilt tastes had changed.  I still loved the pattern, but it just didn't seem right for my little girl.  The pattern was too delicate, orderly, precise.  To describe my little girl I would use none of these words; she is fun, energetic, colorful, unique, expressive.  So my quilt for her needed to change.  But after making these flowers (which I still loved) I wasn't going to just discard them and start new.  I created a pattern to include them.

I call the name of this quilt pattern "Different is Beautiful".

 I love the owls that everyone is decorating with so I chose to add one to Hannalee's quilt.
I also love Ohio stars and that row is one of my favorites.


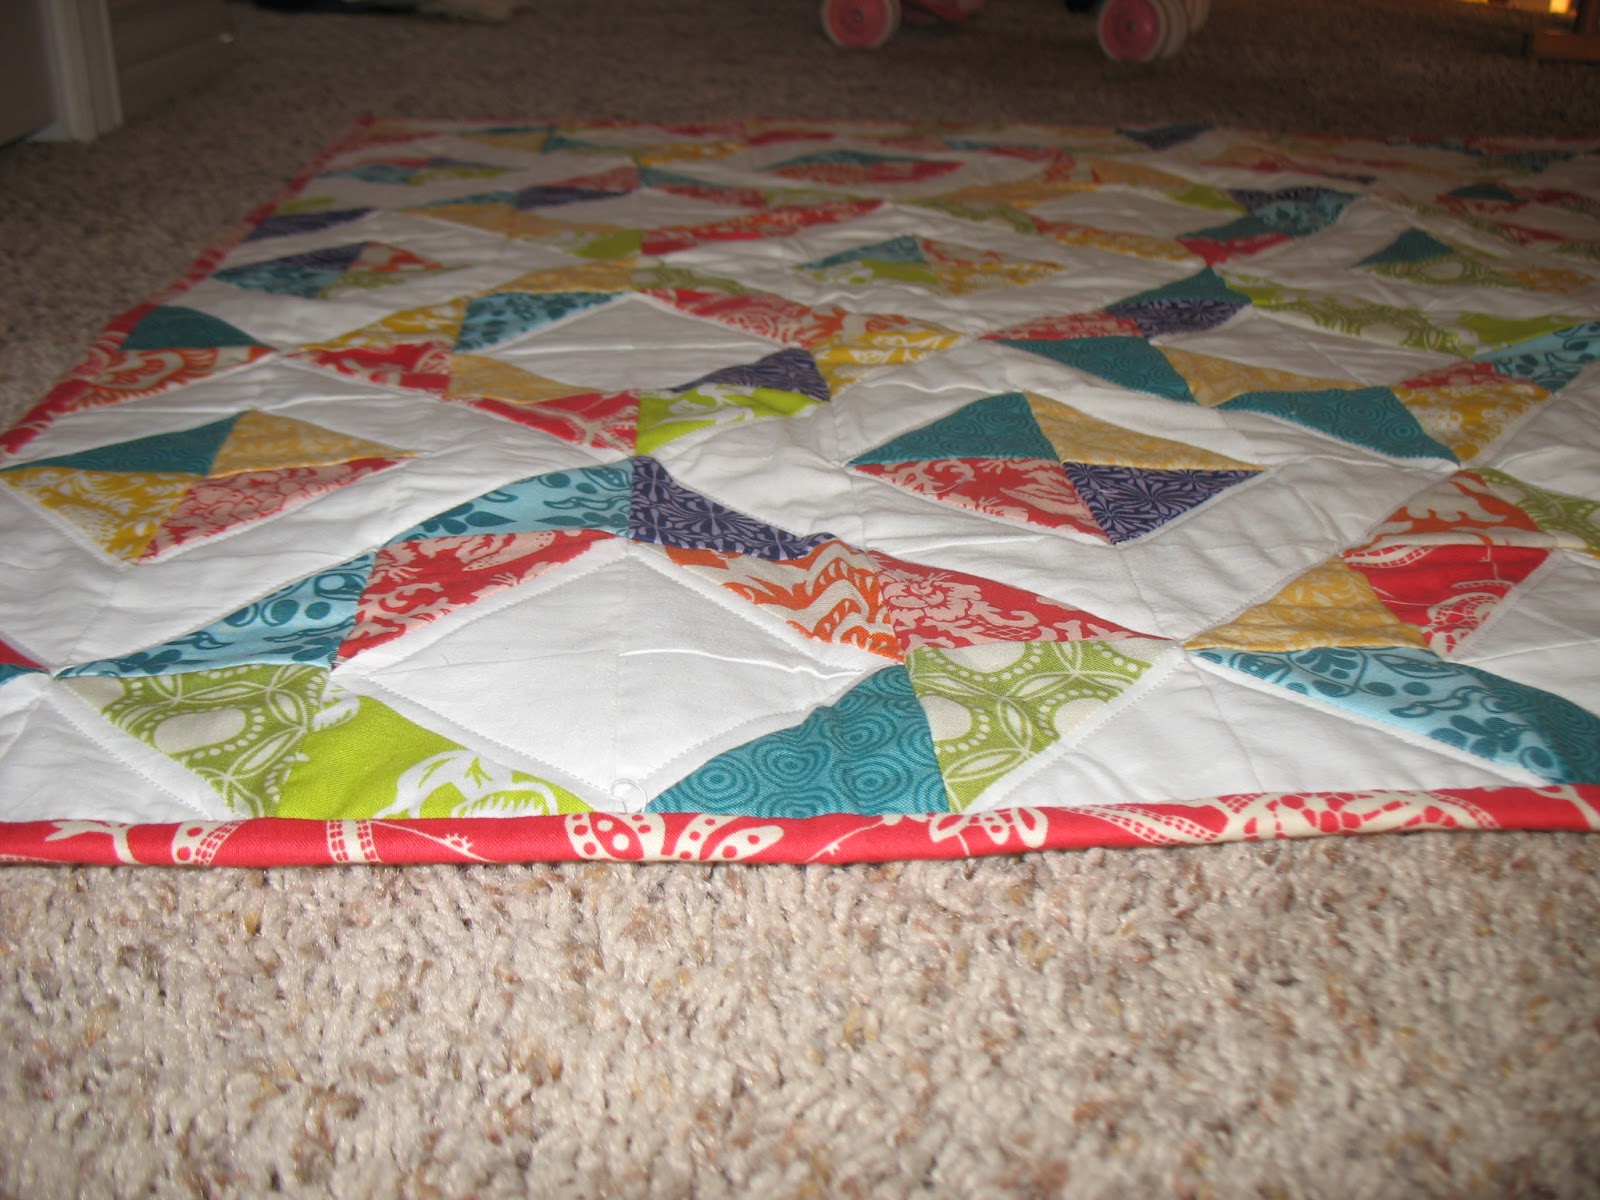
 For the back I used my extra fabrics and chose to stick with the row theme from the front.
The binding is also scrappy.


A local lady quilted it for me. Each row is quilted differently. She did a beautiful job!
I gave this quilt to my little girl for her 4th birthday. She loves it! (When I took it off her bed to take it outside for pictures she said, "But it's coming back right?")

Stats:
Twin size
Cotton fabric and batting
For my sweet little girl

Started: April 2009
Finished: July 2012

UFO #35: Gingham Inspired Baby Blanket

 I saw someone make a gingham look blanket on pinterest and had to try it.  It was super quick and easy to make.  I had this flannel fabric that went great with it.  My little boy loves the tractors on the back and wishes he could have the blanket (but he has PLENTY of blankets).


Stats:
36" x 36"
Cotton front and Flannel back
Quilted 1/4" from the ditches

Started: October 2012
Finished: January 2013

Friday, January 4, 2013

Minni Triangle Madness Quilt


I started creating the half-square triangles (HST) for this quilt before I started putting together the HST for the original Triangle Madness quilt.  I had left over fabric from my Double Hour Glass quilt and was wondering what to do with them.  When I saw Liz's (from Goddess in Progress) the finished product I really wanted to try that pattern.

Now I know I said I hated the process of making and trimming the HST, so why would I do it again?! Well I thought the worst part was trimming the HST.  To get around the trimming part I used Thangles.  I really liked using the Thangles.  They come out perfect.  And it can be sewn in strips not squares.  The process of making the HST was not nearly as bad this time.

This pattern is doable in blocks which means no strip piecing. Hooray!  I actually enjoyed putting it together, plus this is a crib sized quilt so it didn't seem like such an enormous project.

I quilted it the same way I did my other Triangle madness quilt.

This quilt was giving to my dear friend Eva for her newest little baby Aria. Happy New Baby!

 
Stats:
Started in Spring 2012
Finished December 2012

Warm and Natural Batting
Machine Quilted by me


UFO #23: Triangle Madness Quilt


About a year and a half ago I stumbled across a really cute quilt blog (http://www.goddessinprogressblog.com/quilts/2010/10/triangle-madness-week-1-strategery/) where she was using her scraps to create half-square triangles.  Half-square triangles (HST) are really cool because you can arrange them in so many different was and create a ton of different quilts.

I had a lot of bright colored scraps and decided to join along.  I really enjoyed going through my stash and cutting 4" squares for this project.

Then came time to make the HSTs.  It was a long process seeing that I made 324 HSTs.  But the worst parts were yet to come.  Because I used the traditional method to make the HSTs I had to square them up to the right size. I had to square up 324! IT WAS ANNOYING!  It probably took a couple of months of forcing myself to do it to finally get it done.  I thought it would be easy and quick from there, but the worst was yet to come.
Because my HST couldn't be placed in random order and there was no way to create "blocks". I had to sew the entire quilt in strips.  Which might not be so terrible, but every single point had to match perfectly to get the quilt to turn out. That meant pinning at every intersection.  It took about 1 hour to do 3 rows.  So lets just say this quilt got started, then stopped, then started, then stopped... It was trying on my patients.

But it is finally done!  Can you give me a HOORAY!

I found the back which fits perfectly with the colors.  Then I quilted 1/4" around the diamonds.  I finished it off with a scrappy boarder.  I  love how it turned out, though I'm not sure it was worth the head aches.  (If I ever get the notion to do this man HST again, please stop me.)  Because of the time that went into this quilt it is not going anywhere.  Now I just need to find a place to put it in my house.


  Stats:
Started in 2010
Finished December 2012

Size:53" x 53"
Quilted: 1/4" around the diamonds by me